Did you check out part 1 yet?
Now, this costume was going to the same costumer with whom I'd had a fitting mix-up last year. She is a tremendously awesome lady who wanted to work with me again, and this time we really wanted to make sure we had our bases covered with a flexible fit costume. So we purposefully designed it with two lacing strips on the bodice, and I also sewed a muslin which I mailed to her and had her try on and photograph for me.
Using the info she sent me, I was able to make a few modifications on the muslin, but they were all pretty minor tweaks.
I then cut apart the muslin (which she had sent back to me) and used them as templates for...
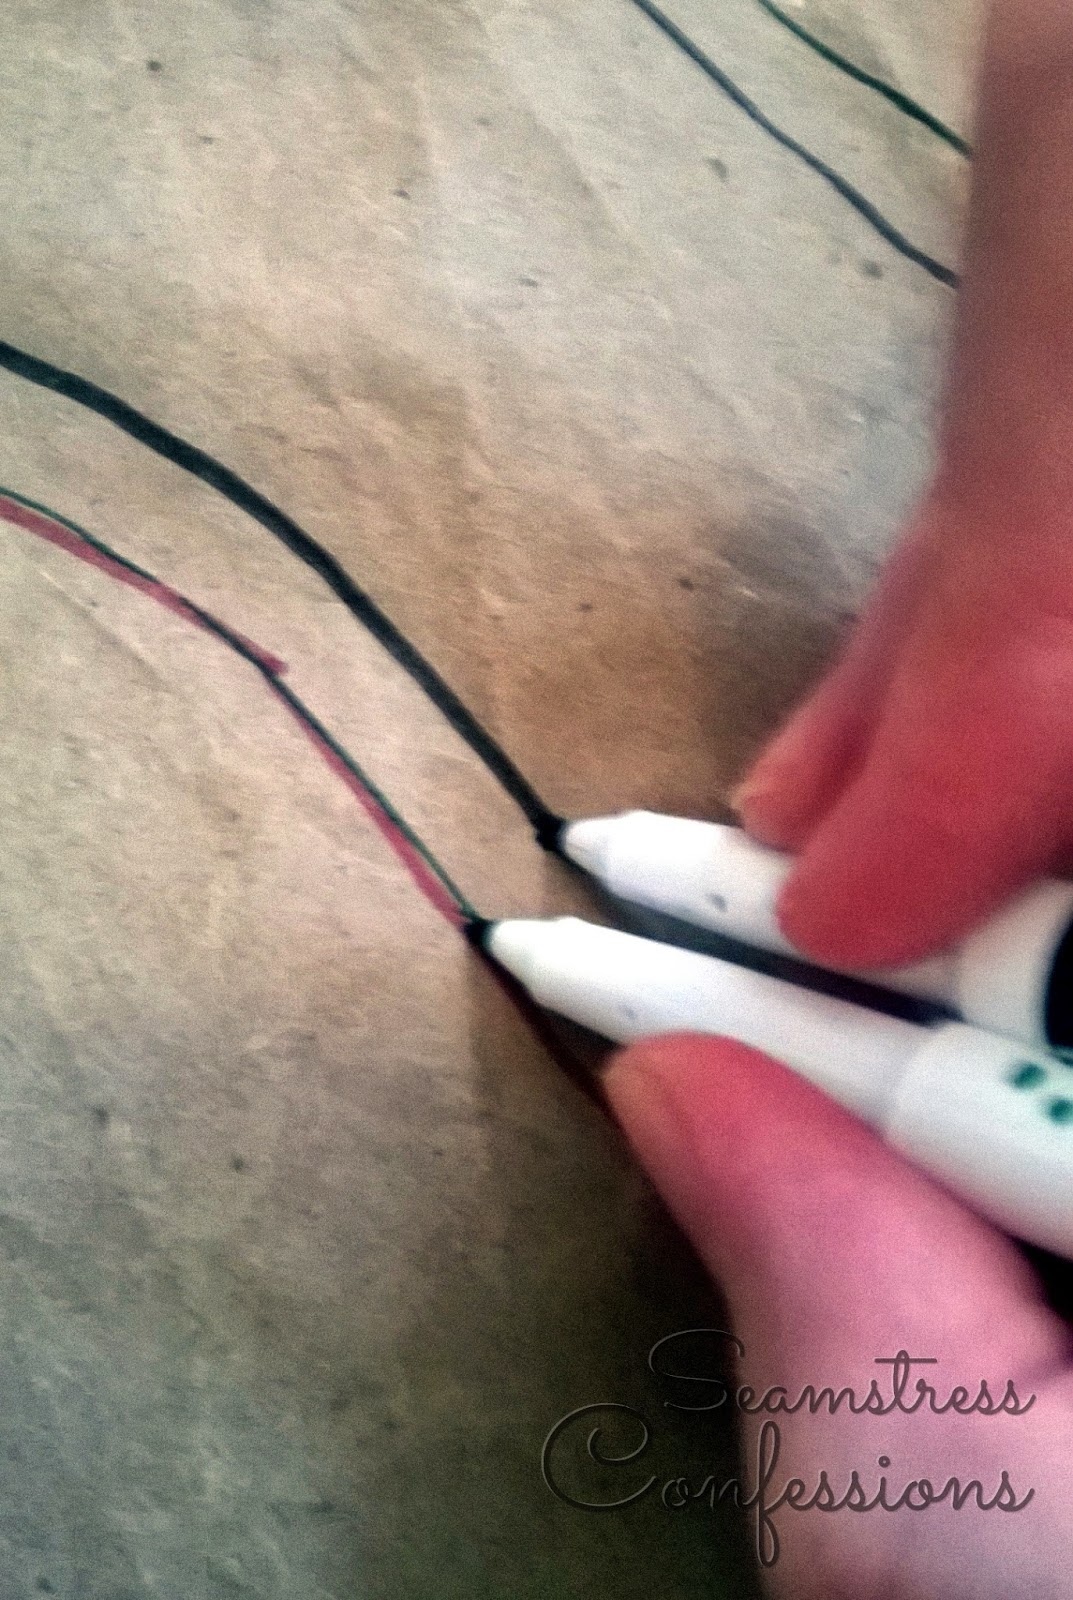
... pattern making! (above, an easy way to add seam allowances!)
We had lots of brown packing paper left over from wedding presents, so I've been using it to make patterns all year.
Since the patterns had been stored on a roll, they needed a press with a warm iron to lay flat (no steam!).
The original overskirt fabric that we picked was a very vivid blue, so I colored the lime green and turquoise on the trim with a prismacolor marker. (even though we later switched to a red overskirt, the royal blue still looks better than the lime green did).
The bodice fabric is a sturdy upholstry linen that already has stabilizer on the back. This meant that I didn't have to interface it, and could get away with minimal boning.
Time to embroider that center panel! We had a steampunk butterfly motif we liked, but I had trouble getting the colors and style to work with both the trim and the blue fabric. We tried some different options...


After a LOT of playing around, we finally decided to get a different type of gold embroidery thread for the butterfly, and swap out the busy blue print for something subtler.
I gave her a few options...
We both liked this mock-up the best!
Here you can see the final red and gold butterfly we went with, as well as the red overskirt. Read on for just how the overskirt was constructed, as well as details on all those steampunk bits!


No comments:
Post a Comment