
Remember how in Part 3 I said the vinyl was a bit stretchy and thus fussy to work with? You can see the puckering issues in the vambrace pieces above. I've learned my lesson about testing vinyl for appropriate stability!

Because of the stretchyness and also because vinyl is, after all, plastic leather, I really wanted to make sure everything was reinforced with interfacing. Especially the strips I used to make the straps and buckles.

Disclaimer. I'm not a professional leatherworker. There might be other much better ways to make straps like this. This is the result of my trial and error to come up with something that would work with this leather, look decent, and get the job done.

I started by sewing two strips together. These straps are so thin, that I could not sew both sides and turn them inside out. Therefore I sewed only one side and the tip.

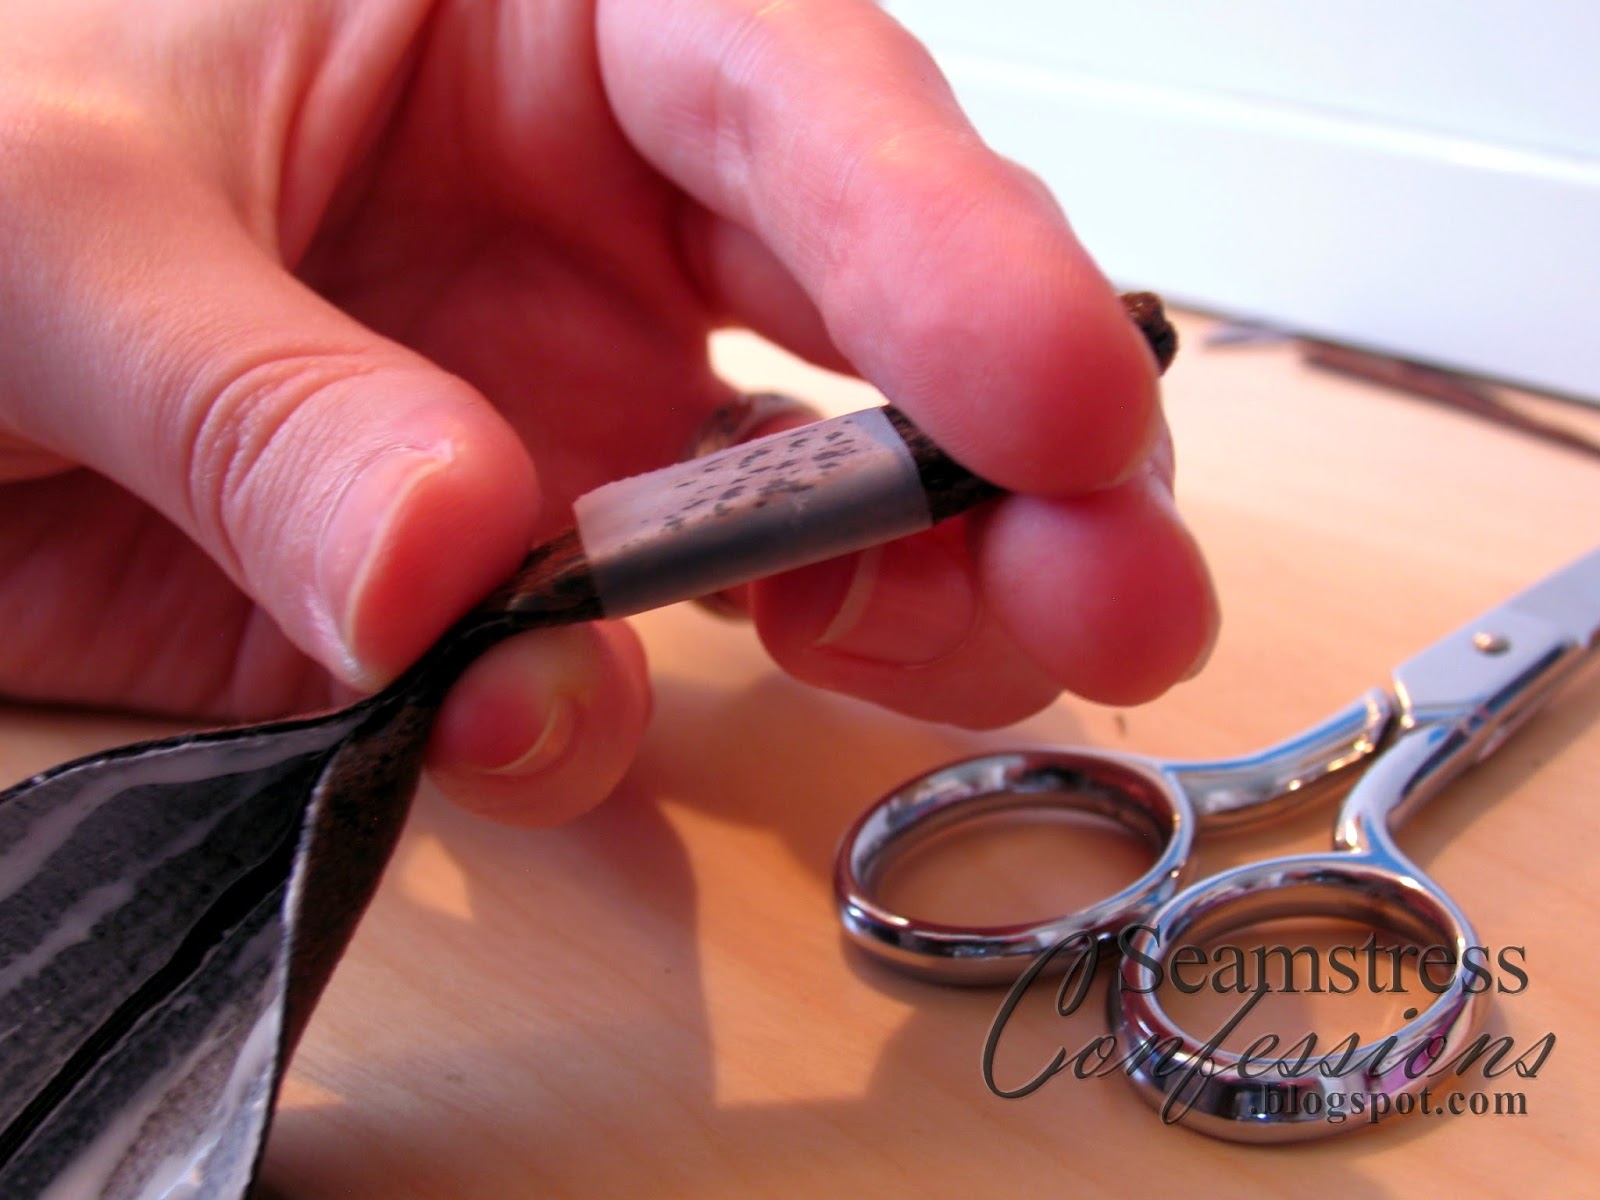
Then I trimmed everything down to make the tip as smooth as possible.

It's always helpful to have a tool like this when turning finicky corners rightside out.

On a bigger strap I'd be able to get a more precise tip, but for the miniscule size here, this was as good as I was going to get.

I then slathered the whole interior with glue, both for stability and to secure the open edge...

...like so! This glue held the edges down until I could topstitch it. I tried pinning it, but it just did not work very well.
A bit of tape...

...and a bit of weight kept the edges turned under and flat until the glue dried.

Once the glue dried, I topstitched the edges and punched out the holes.

The buckles were a bit easier to flip into place and sew down. Here you can see just how tiny they are!

A stud to tack it down and add some more shiny!

The finished belt!

The finished vambrace!
Ready to see the final photos? Check out Part 5 of the Assassin's Creed Cosplay!
No comments:
Post a Comment