I've had some really wonderful clients this year. They are patient, passionate about their costumes, and really great cheerleaders during the construction process. Plus they have excellent taste in their commissions!
One client wanted this Regina costume from Once Upon a Time. While she wanted the headdress to be as exact as possible, she wasn't overly particular about the dress, and basically wanted it to be plain black. So it was fun to come up with the final product.

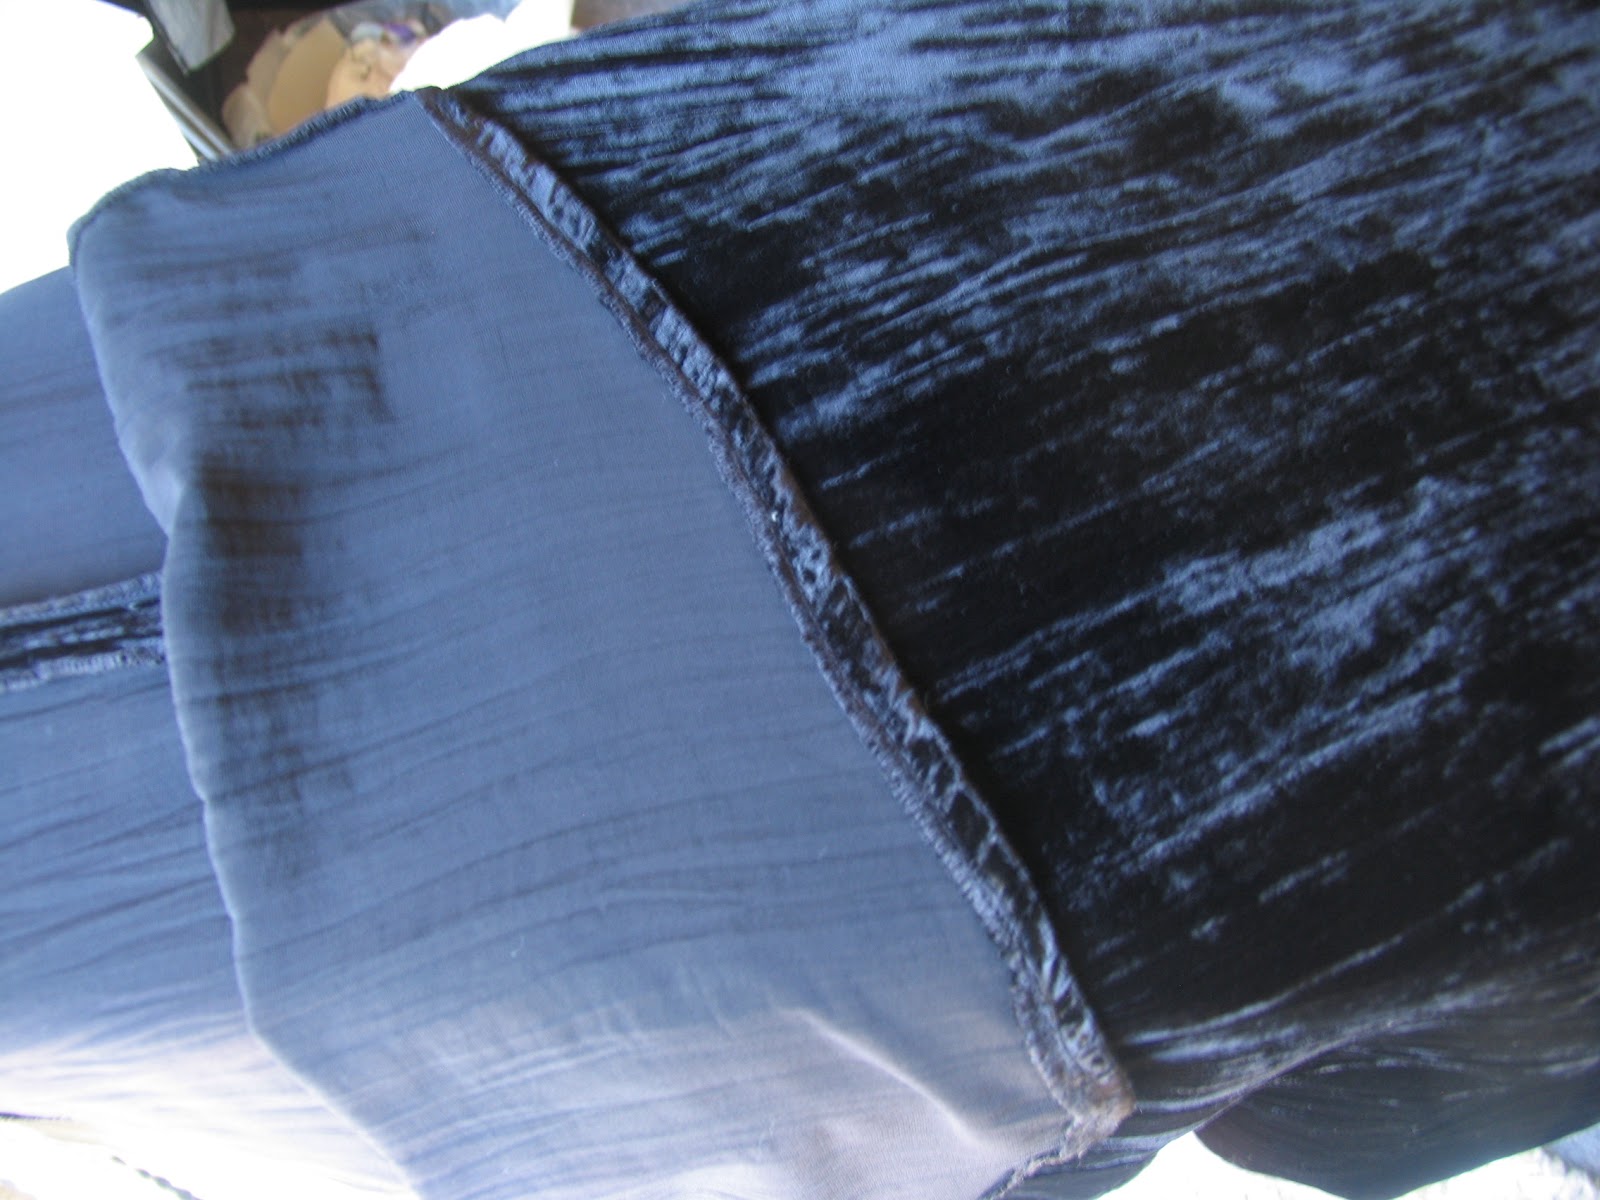
First off, I had to find a good fabric. Originally I was planning to get just a plain black velvet, but surprisingly the warehouse didn't have any of a good quality. They did however have this slightly textured piece that I thought would work even better. (Warehouse rocks, I can get excellent velvets for just $10 a yard there).

I then set my dress form to my client's size and went about making a pattern using the duct tape method I've referred to elsewhere.

I decided to go with a very simple pattern for the bodice, which I painted onto the duct tape before cutting apart and transferring to paper with seam allowances. (I have to use paint, as permanent marker will not work on duct tape.)

Laying it out! This was a bit tricky, as velvet has a nap and therefore all the pieces have to lay in the same direction.

This was also the very first project I used my serger on! Which is great, because velvet strews nap all over the place if the edges aren't finished. And since this was a costume quality piece it wasn't being lined, so serging was essential.

The serger, all threaded up!

Because this was a costume quality piece, I could get away with serging the hem and folding it over once. It looks the same on the outside as a double fold, and has less bulk for a smoother flow.

Serging the armholes before sewing them in.

And here is the dress!

I did end up going back and tweaking the sleeves a bit, as I'd originally cut the openings a tad too small. Wasn't a big deal, and my customer said they fit great.


Here you can see the zipper down the back!
Continue on to Part 2 to learn how to make the lace headpiece!
1 comment:
I really need to try the duct tape method.
Post a Comment